Introduction
The main aim of this blog is to reflect on and record the various workshops I have completed. I will express my thoughts on what I experienced, the difficulties and triumphs. The workshops have been chosen based on methods and techniques that I am unfamiliar with. Therefore I will expand my skill set through this process. This page will focus on the different processes used in metal work including welding and brazing.
Metal Brazing
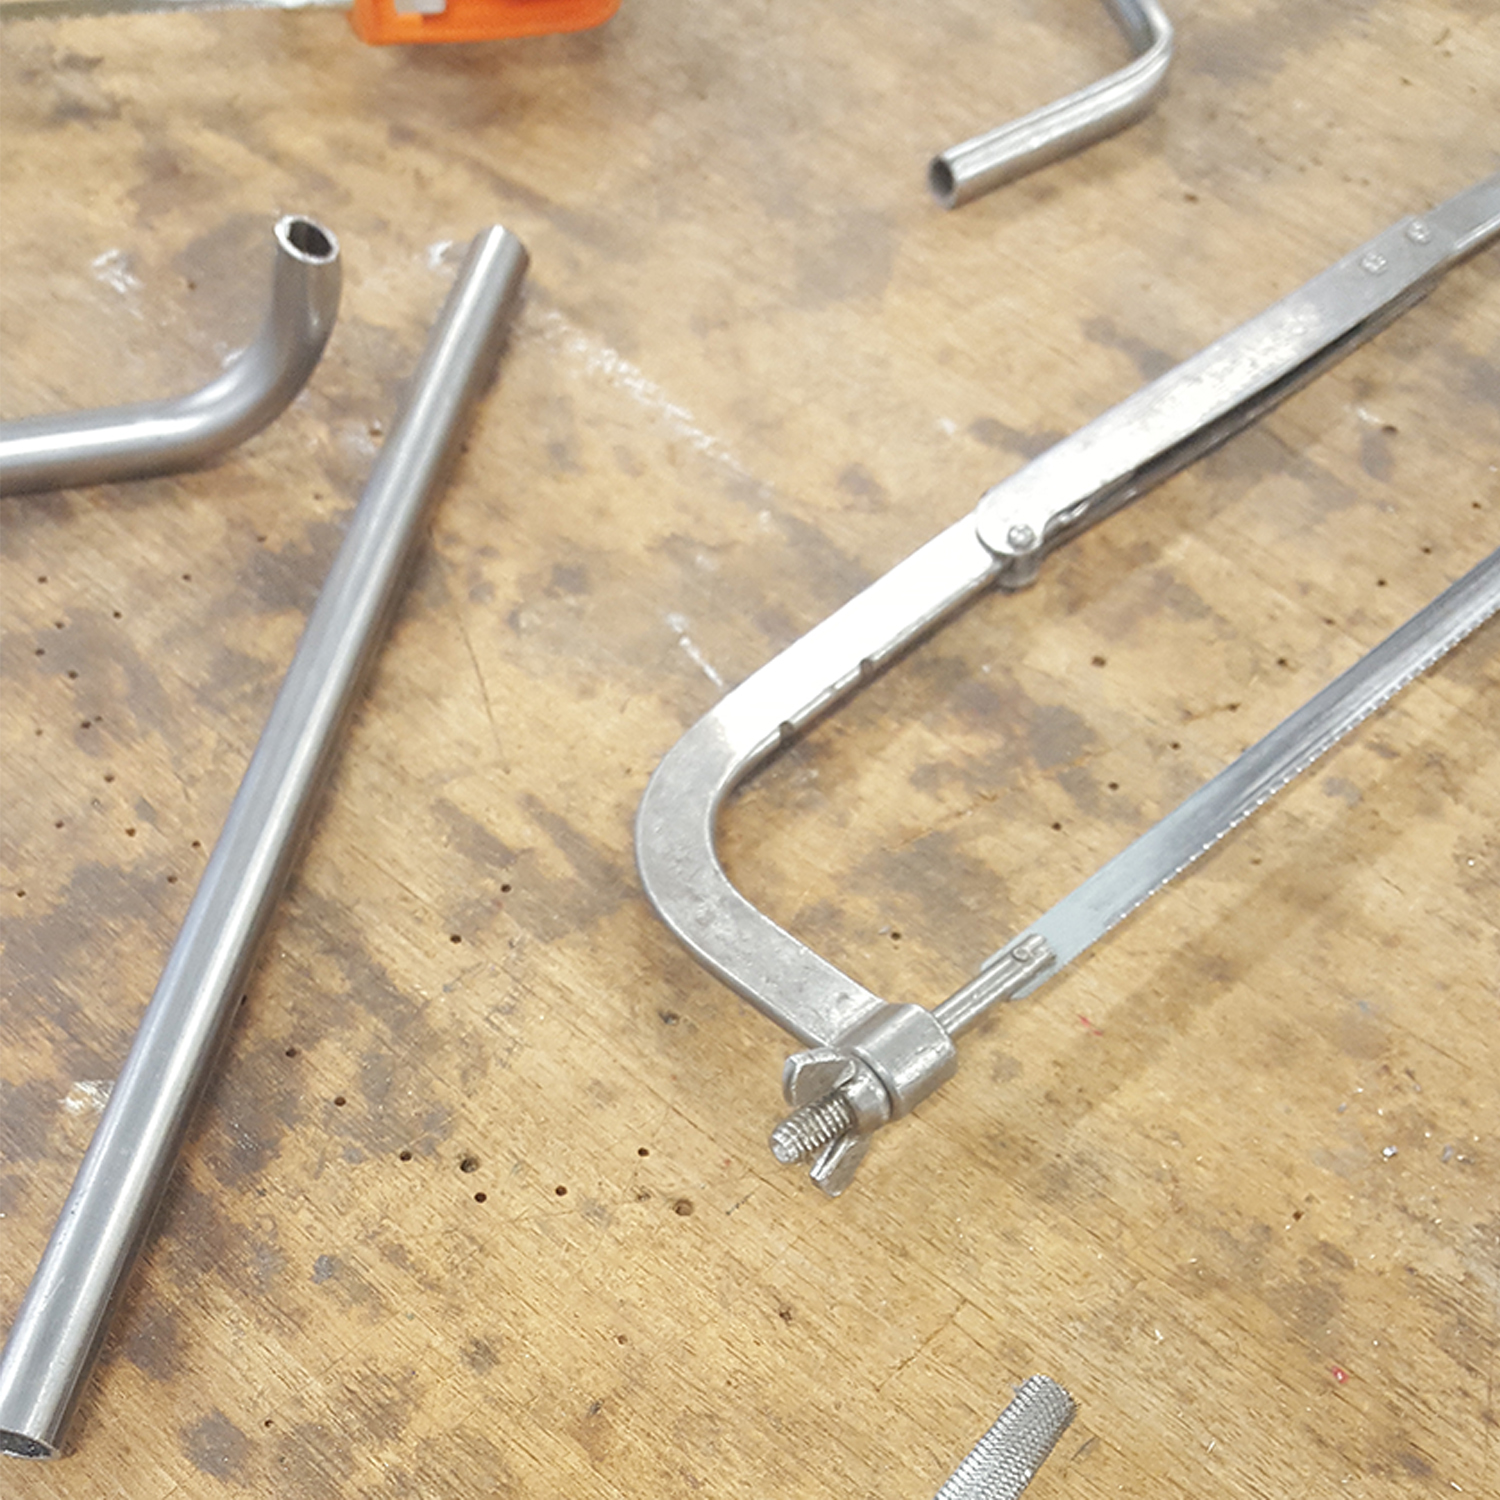
The initial task to retrieve all of the required equipment to carry out this process. The equipment included 10mm steel pipe, hacksaw, vice clamps and a file.

The next step was to clamp the steel pipe in the steel vice to position it for cutting. However, it was important to place the clamp protectors on the vice to reduce any damage the vice could cause to the steel pipe.
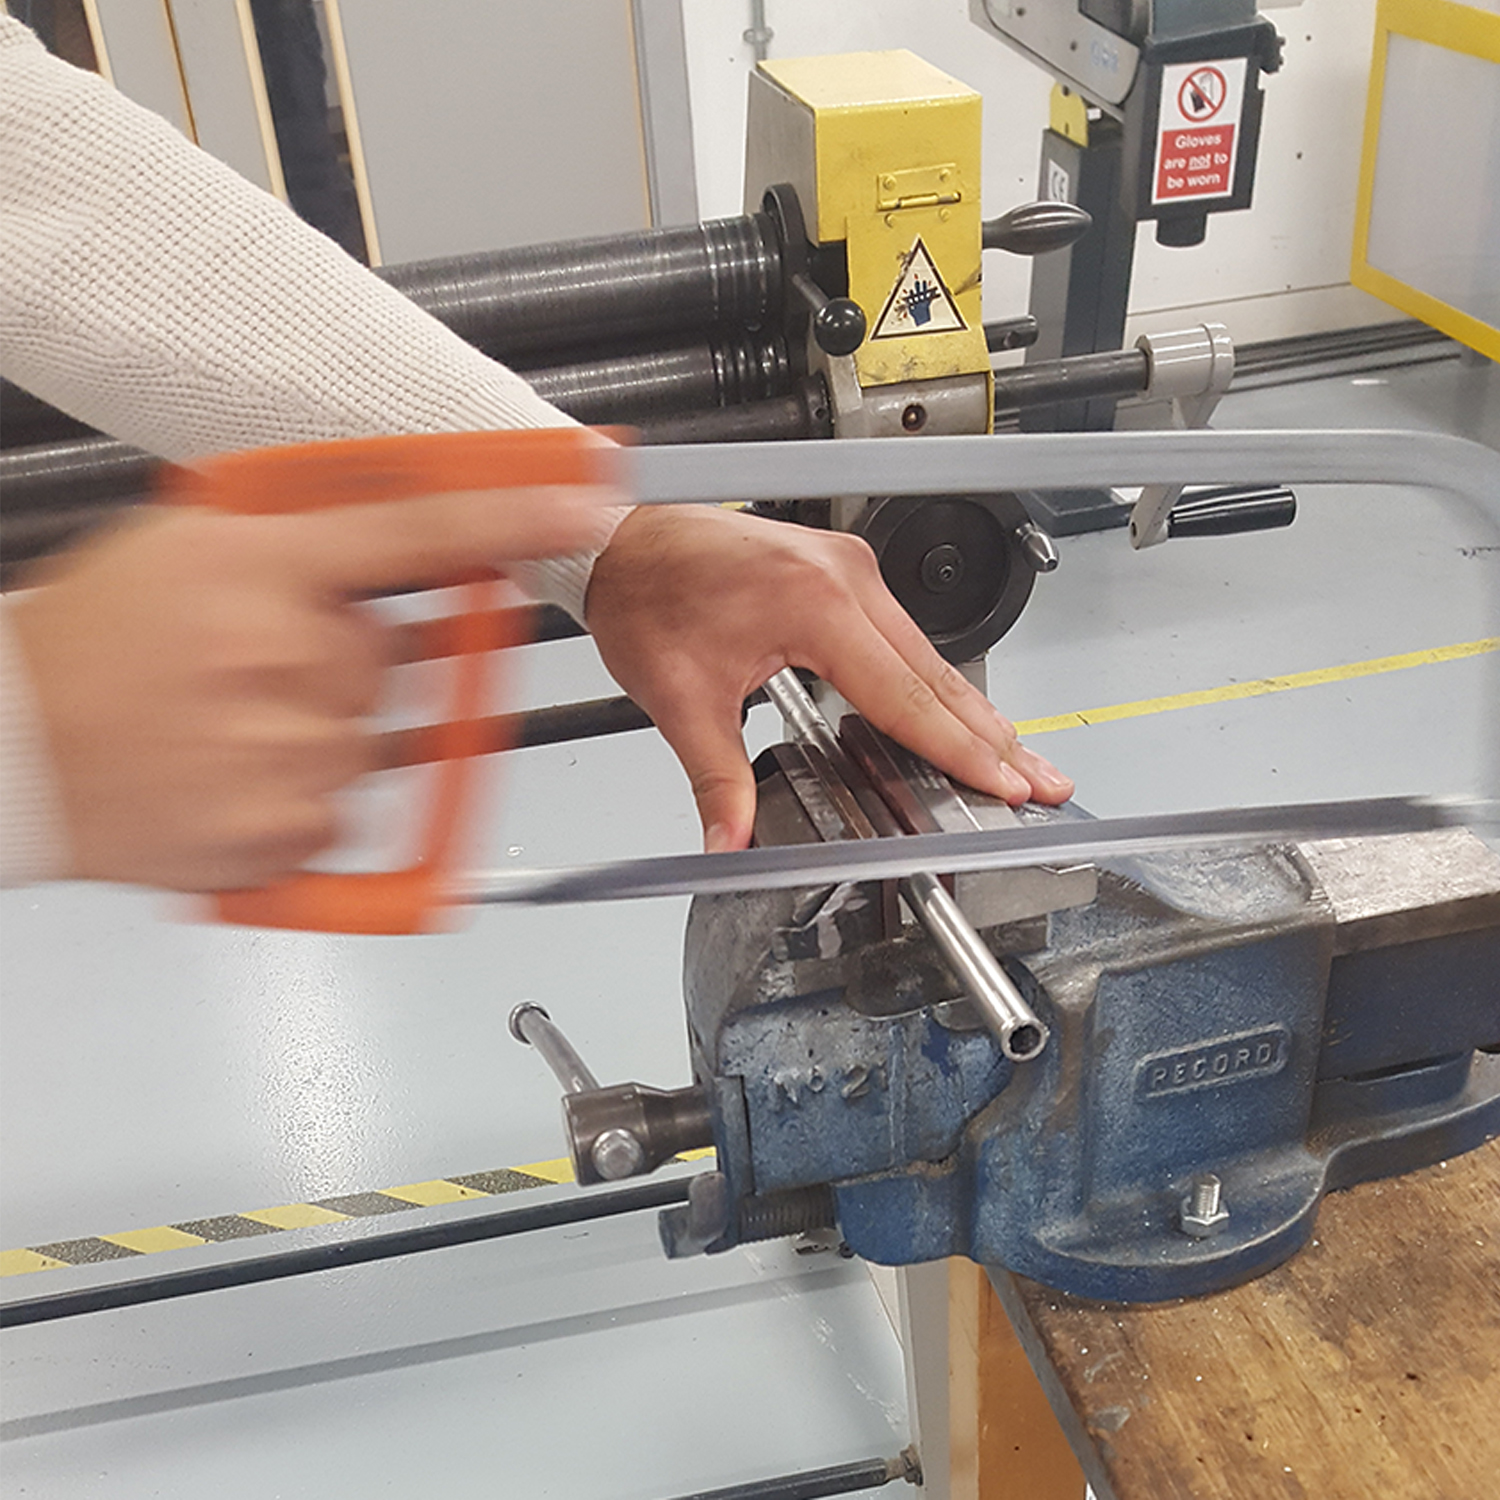
Once the steel pipe had been firmly fixed in the vice, the next step was to cut the steel pipe using a hacksaw. The technique that I learned while cutting was to use the hacksaw in a straight and long motion, maximising the stroke of the hacksaw to achieve efficiency. Another reason for using this motion is to prevent the hacksaw from getting damaged, if the motion is short then the concentration on the hacksaw is focused on a shorter surface which can damage the teeth of the hack saw if it is consistently being used in this way.

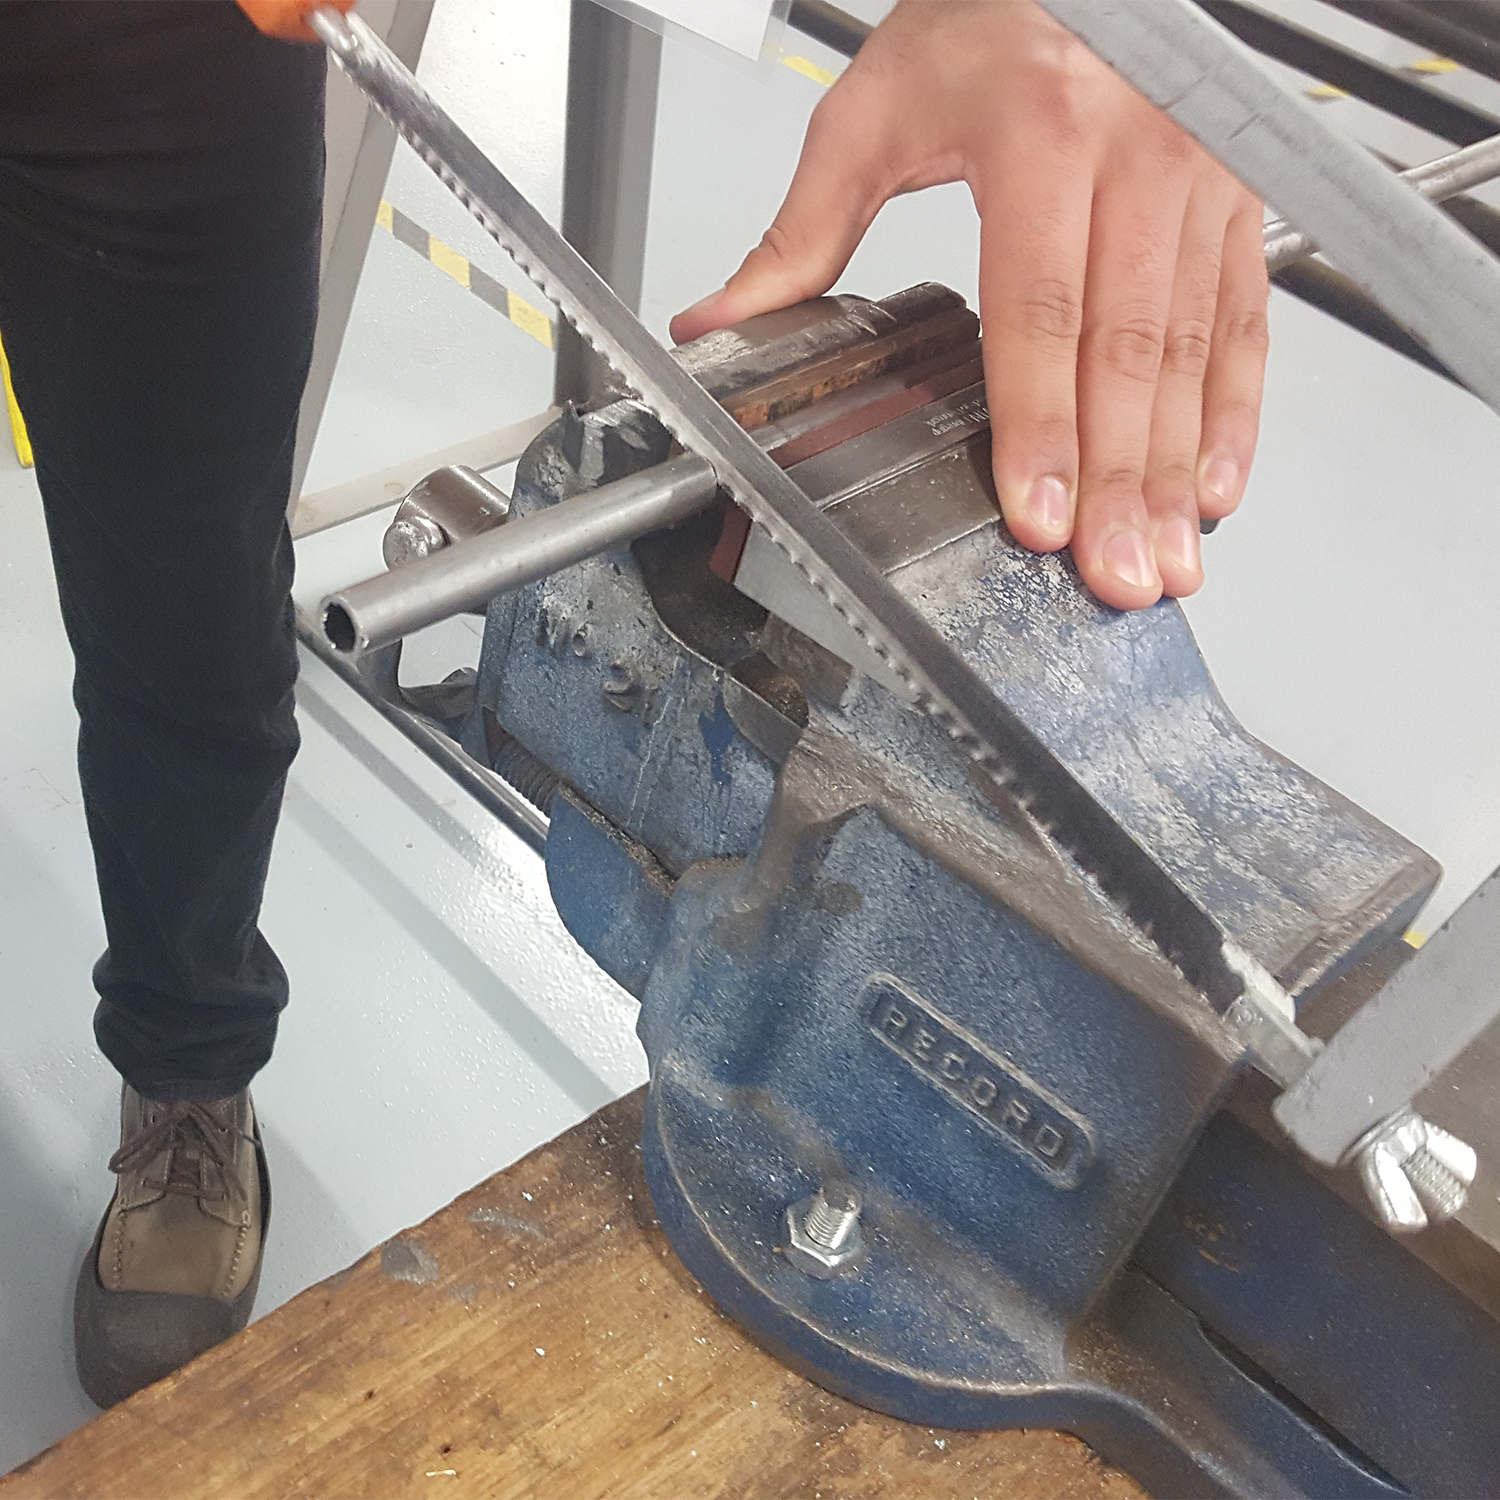
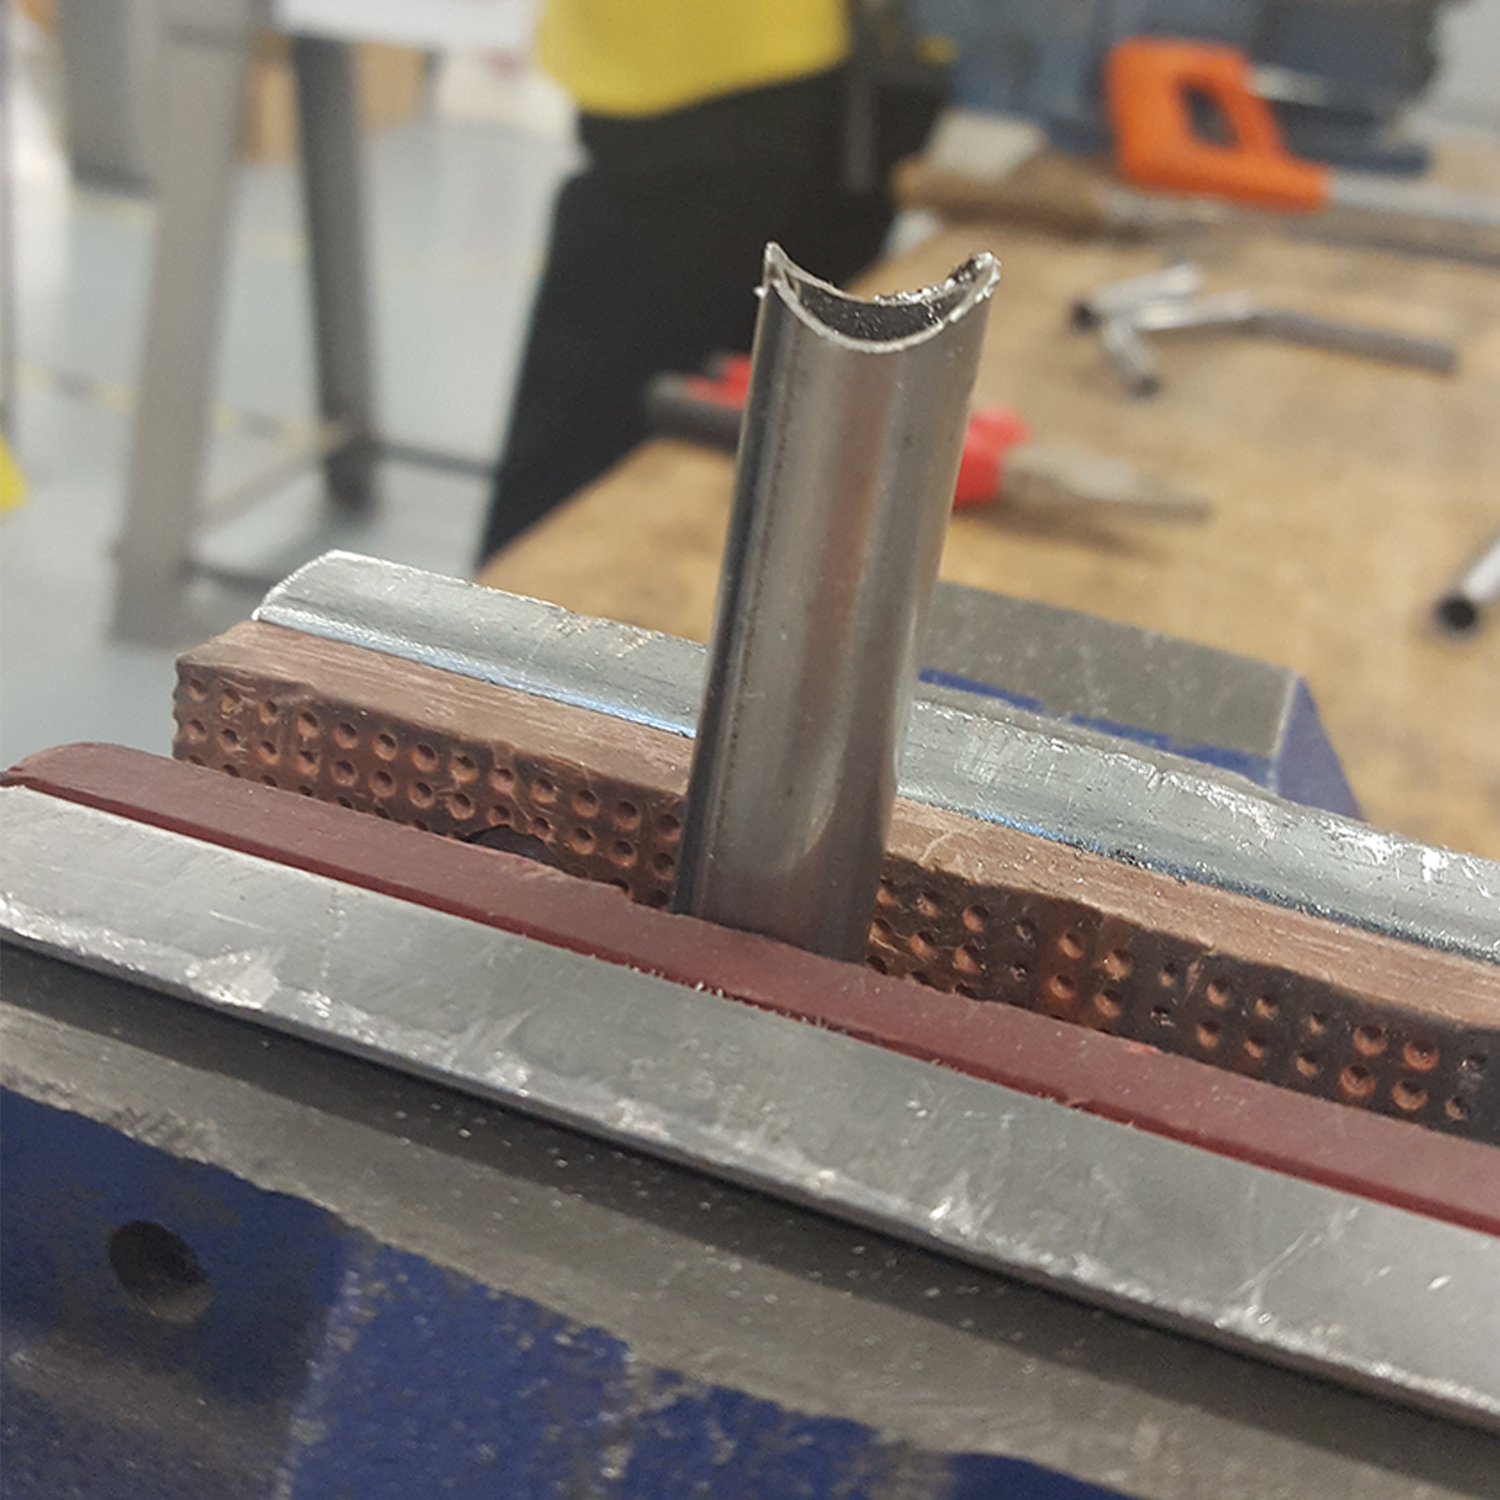
Now that the steel pipe had been cut in the required pieces, it was time to file a semi circle at the top of the steel pipe which would then be connected to the other steel pipe. However, before filing it is important to repeat the previous process by securely placing the steel pipe within the vice using the clamp protectors.

As the teeth on the file are facing one way, it was more efficient for me to stroke the file in one direction continuously. One aspect of this motion that is similar to cutting was using long straight motions for the same reasons; efficiency and accuracy.
The filing process requires care and attention, when I was filing I would always stop and then check to see the progress of the steel pipe. Always making sure that I have not filed excessively.

Another way to check progress on filing is by placing the other steel pipe on top of the filed steel pipe to check how they connect and if there are any major gaps between the two. Once the result is close, it was important to file the edges that would get brazed so that no excess steel would get melted in the process. Which could effect the quality of the result.

The next step was to place the steel pipes in position ready for brazing.
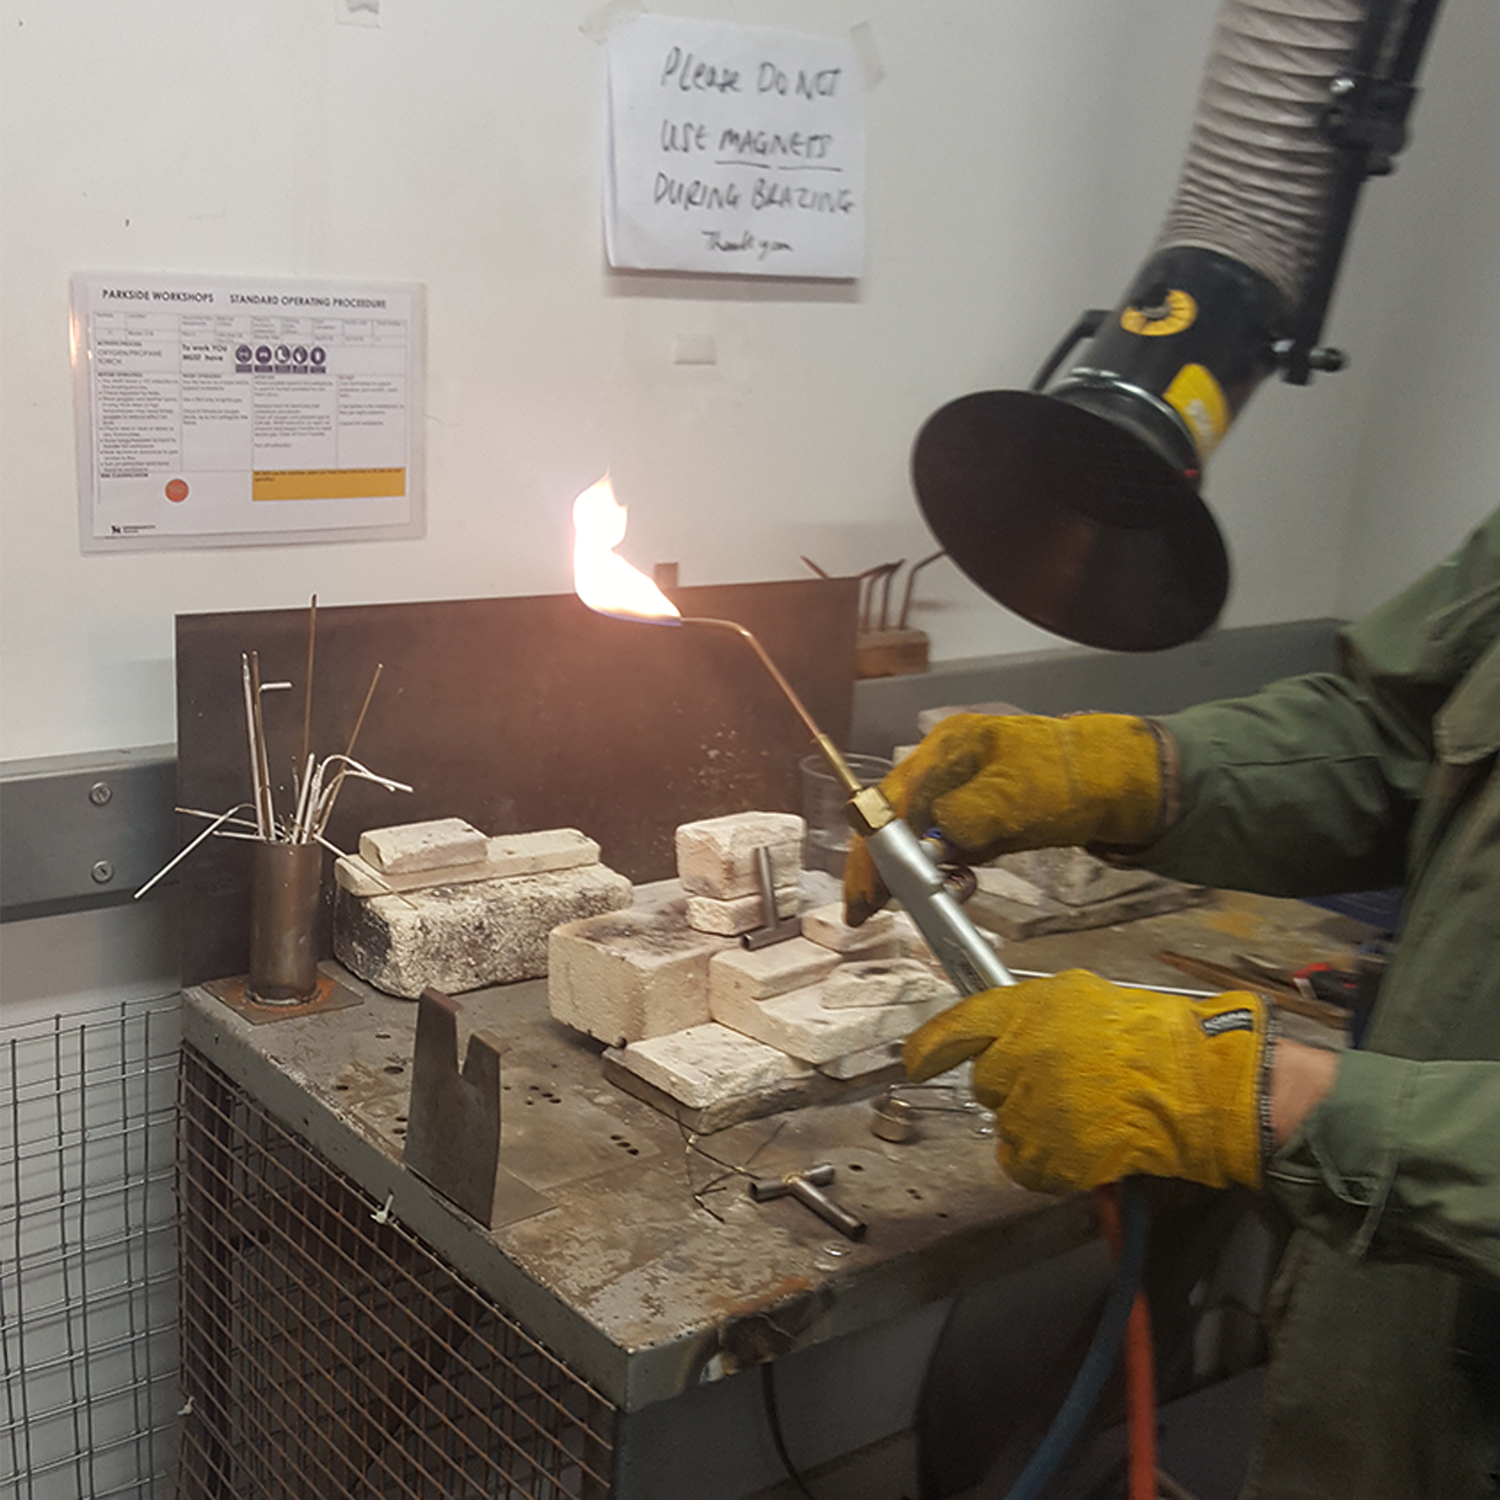
Setting up the flame was next, by initially turning the red knob slightly for release gas and then sparking the flint lighter to obtain a safe flame. Next I had to turn the blue knob slightly for oxygen to make the flame more powerful and concentrated. This did take a few tries to get right and turning the knob too much or too little is seperated by a few millimeters.

Now that the flame was set, the next step consisted of heating up the steel pipes getting them ready for the brazing process.

Once the steel pipes had been heated up it was time to apply the flux to the connection point of the two steel pipes. This was done by using the flame to melt the flux on to the connection points. I had to be careful to not position the flame too close to the steel pipes as this would burn the flux instead of applying it.
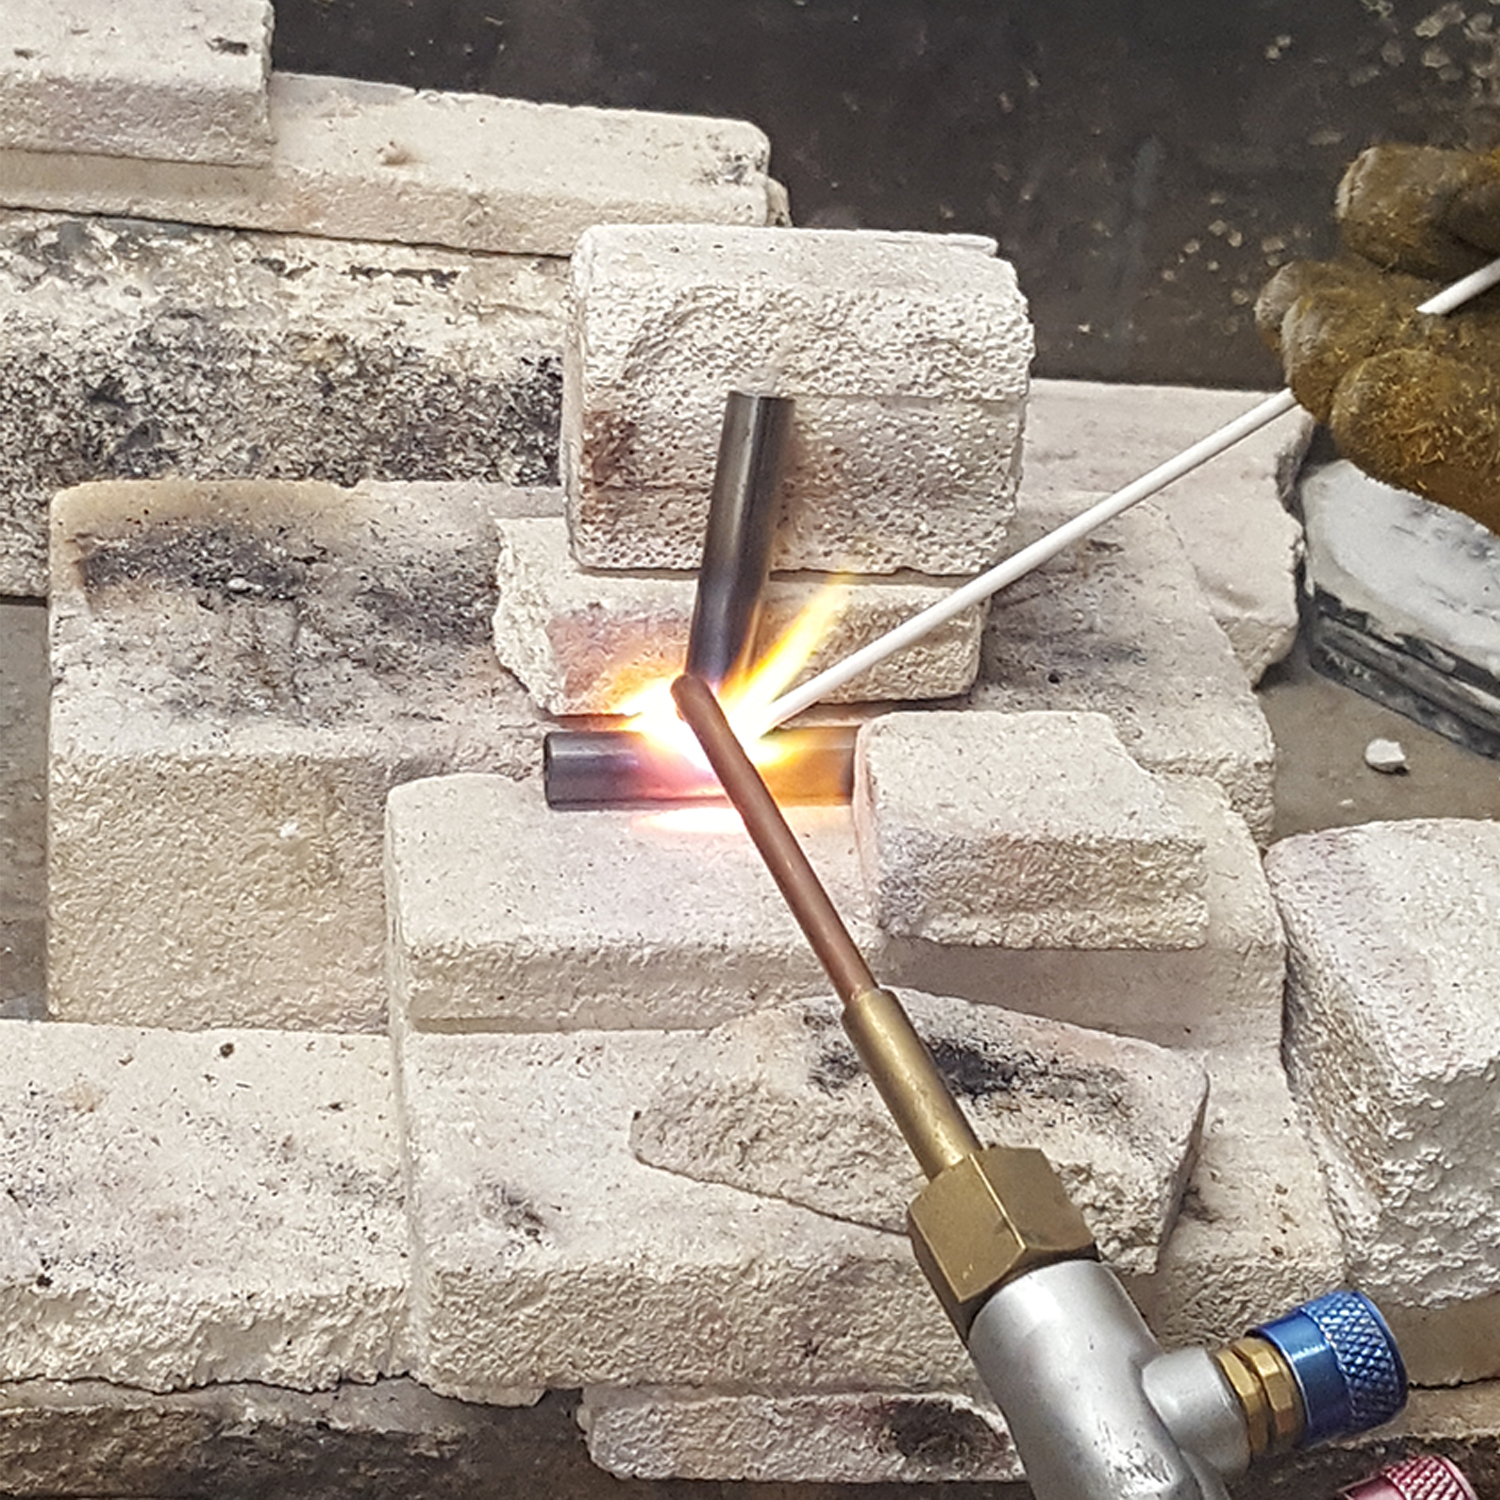
After the flux had set it was time to melt the bronze onto the connection points. With bronze the key was to position the flame a little closer in order to retrieve the bronze drops that would fall in between the connection p[points.

Once the bronze drops had set, the next step was to melt any excess bronze onto the steel. This process helped to make the connection of the steel pipes stronger.

It was important to melt all sides of the steel pipe connections as the they are circular. Therefore places the steel pipes down allowed me to reach all angles of the members.

Placing the connected steel pipes in water was the next step in order to cool down the steel. After the steel pipes reached a cool temperature, drying the steel pipes was the next important phase before filing.

As seen in the image above, there was excess bronze that was melted on to the steel pipe. Therefore filing the excess bronze was next on the agenda to give the process a tidy finish.
Arc Welding
Arc welding is a process that is used to join metal to metal by using electricity to create enough heat to melt metal, and the melted metals when cool result in a binding of the metals. The metal that was used was copper as electricity runs through it effectively. It is a type of welding that uses a welding power supply to create an electric arc between an electrode and the base material to melt the metals at the welding point.

The two planes of metal are initially attached to a magnetic frame to avoid any movement while the process is being completed. The magnetic frame is also connected to the base for further support. The planes have been angled in such a way to allow for the connection between them. The copper wire that is used to connect the planes together needs to be a minimum of 8mm out from the apparatus in order to reduce the risk of porosity.

Documenting the actual welding can be dangerous due to the high levels of ultraviolet rays being transmitted. However, I have documented the result of my first attempt. It was difficult to keep track of the join because when the welding process is underway the protective mask dims the light for eye protection which ultimately limits the vision from the mask. Resulting in a slightly distorted line through the middle. Just like most processes, the more you practice the better the results will inevitably be.

The image above is portraying the results when the position of the hand fluctuates in distance from the join. When the distance is too far then the electric current running through causes a spark. The spark can result in contaminating the metal in the form of a trapped gas; this is called porosity.
